Tardis Flight Operations-1.12
Tardis Flight allows the Tardis to travel through different dimensions and cross large distances. There are several ways to fly the Tardis and many options to control its abilities. However there are also some limitations and dangers as well.
Understanding Tardis Flight
Tardis Flight can create a variety of experiences for different pilots.
Therefore, a thorough understanding of the Tardis is recommended.
The ability to enable Tardis Flight is dependent on the following factors:
- Essential circuits are installed - Dematerialization Circuit, Fluid Links, Time Vector Generator and Thermo-Couplings
- A functional Tardis Monitor placed in the interior.
- Artron Energy level
- Tardis interior doors being closed.
Installation/Repairing of Essential Flight-related Circuits
The most basic form of Tardis Flight requires the installation of the Fluid Links, a Dematerialization circuit, Time Vector Generator and Thermo-Couplings. Without them, the Tardis cannot take off and land successfully and/or allow the player to enter its interior.
By default, a fully grown Tardis coral will provide all sub-system components. However each sub-system has a random durability value due to the growth process. It is recommended for users to repair all essential flight-related circuits before using their Tardis regularly.
Minimum Requirements:
- Dematerialization Circuits: 1% durability
- Fluid Links: 1% durability
- Time Vector Generator: 1% durability
- Thermo-Couplings: 1% durability
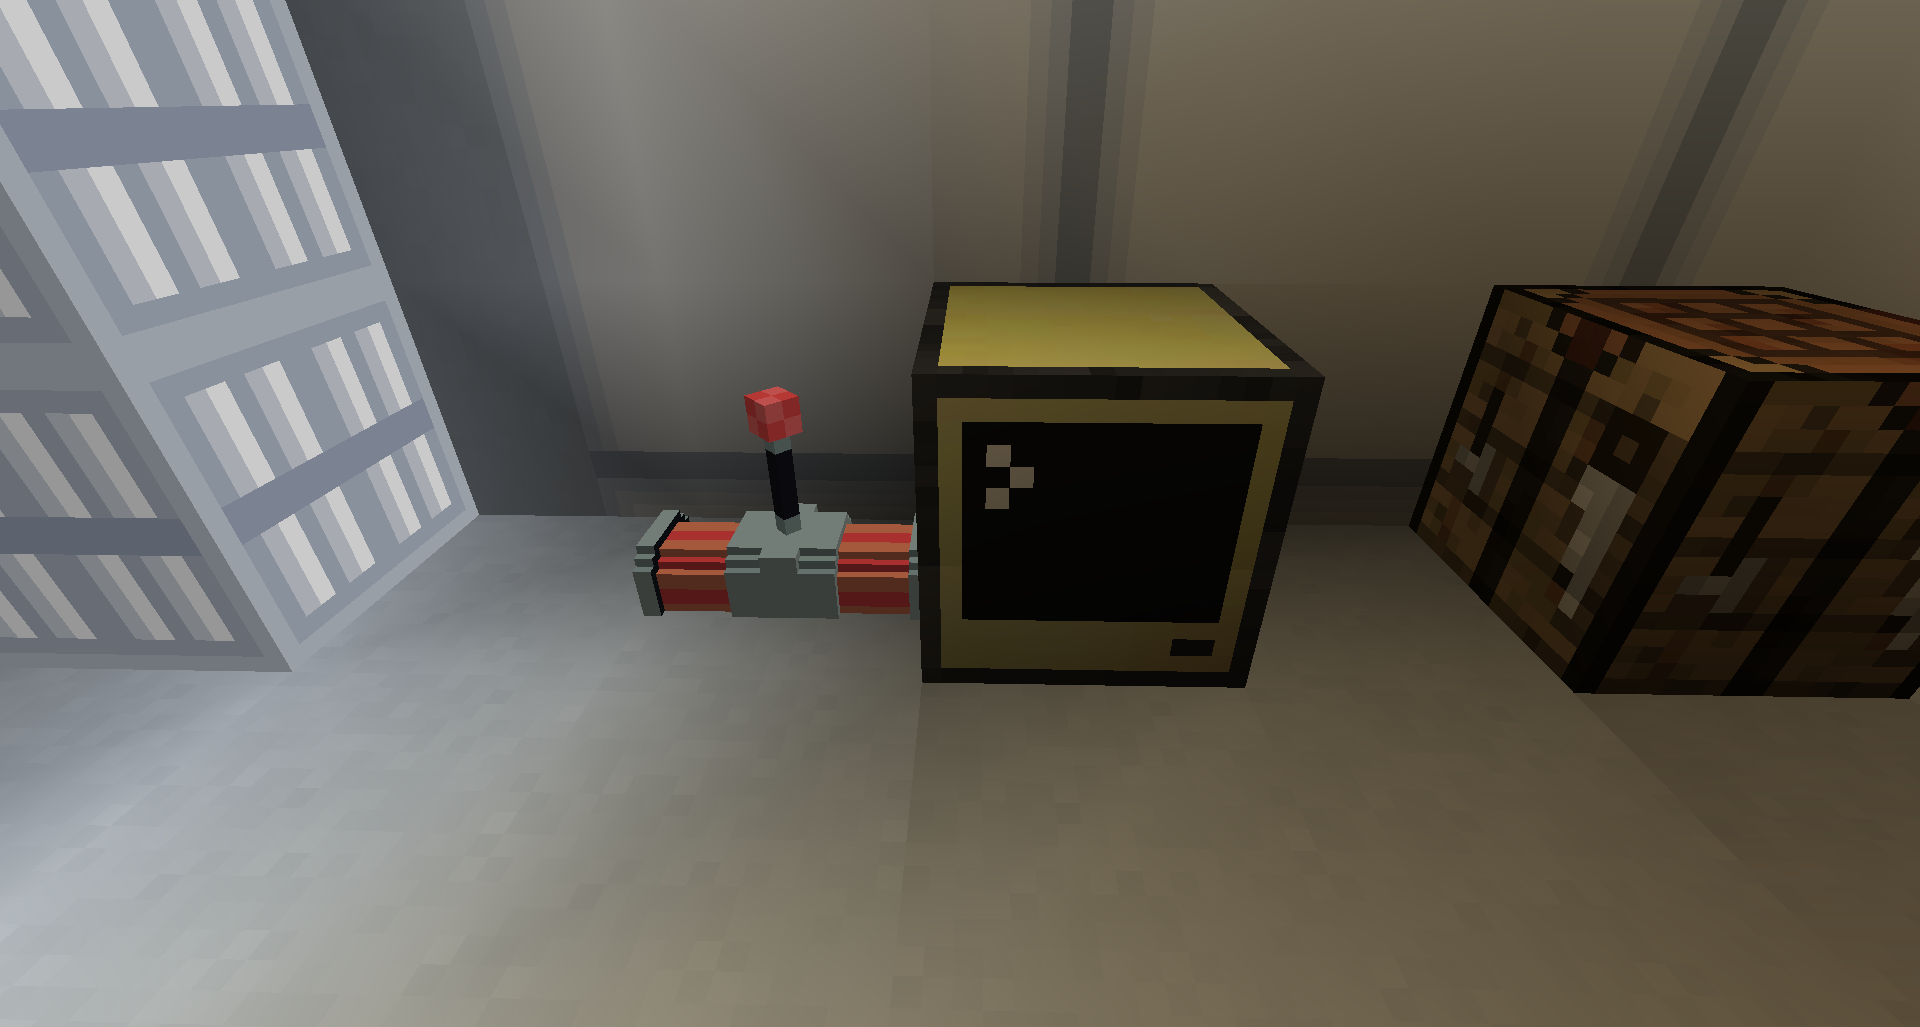
Tardis Monitor
A Tardis Monitor allows the player to view their destination, flight progress and other essential properties of their Tardis. It is also important for long term flight-readiness via monitoring and maintenance access to Tardis sub-systems.
Multiple monitors may be placed in the interior. Each monitor will share the same information and have the same functionality.
Minimum Requirements for flight: Placing down A Tardis Monitor in the Tardis interior
Artron Energy Levels
The Tardis uses up Artron Energy during flight.
Each flight journey will use up 4% or more of the Tardis’ total capacity.
If the artron energy level reaches 0%, explosion particles will be emitted from the console,followed by a Tardis Crash and the ringing of the Tardis Cloister Bell.
Further consequences are the Tardis’s exterior position will be 5-10 blocks away from the position of the Tardis at a point in time when its artron energy banks were more than 0%.
Additionally a 5x5 crater will be generated near the crashed exterior.
Minimum Requirements for flight: 5% per flight
Average Artron Energy usage in certain scenarios:
|
Scenario |
Artron Energy Usage (%) |
Time of Flight (seconds) |
|
Travelling 1 or more blocks in one axis in the same dimension as previous position |
4 |
18 |
|
Travelling to another dimension without change in coordinates |
7 |
34 |
Closed Tardis Doors
The Tardis interior doors must be closed during flight to prevent the player from being left behind at the Tardis’ previous location.
The Tardis is able to take flight if the interior doors are removed. However, the interior doors need to be replaced after the Tardis has landed to allow players to exit the Tardis.
Summary
Before activating flight mode, the following minimum requirements must be met:
- Install/fully repair a functional Dematerialization Circuit, Fluid Link, Time Vector Generator and Thermo-Coupling. They ensure the Tardis has an interior and has the necessary flight components
- A functional Tardis Monitor is placed in the interior. This allows the player to monitor the Tardis’ destination.
- Dimensional Dam durability is more than 0%. This ensures the interior dimensions are stable and prevents the player from being kicked out of the interior.
- Thermo-Coupling durability is more than 0%. This ensures the Tardis will not attempt to land inside its interior.
- Artron Energy levels are 5% or more. As each flight will use 4% or more of the energy banks, sufficient Artron energy levels are required to prevent Tardis Crashing.
- Tardis interior doors are closed. This prevents players from being sucked out from the interior and left at the Tardis’ previous location.
Flight Instructions
To activate flight mode, the main steps are as follows:
- Set the coordinate increment rate using Coordinate Increment Adjustment
- This allows the coordinates increase/decrease rate to be 1, 10 or 100 with each button push.
- Set the destination X, Y and Z Coordinates using X,Y,Z Plotters.
- Right click to increase the coordinate value, Sneak+right click to decrease the coordinate value
- Check the Tardis Monitor's Navicomputer to ensure the destination coordinates are correct.
- Pull Time Rotor Handbrake.
- Wait until the the monitor displays "TARDIS Landed" before opening the interior doors to prevent being thrown out of the interior prematurely.
- Open the Tardis interior doors with the door switch control or by hand (right clicking the doors) to exit the Tardis.
Additional Flight Modifiers
The following methods provide greater flexibility and complexity to Tardis Flight. To use them, use the correct control as detailed below before taking off.
|
Modifier |
Activation Method |
|
Travel to other dimensions |
Use Dimensional Control.* |
|
Modify Tardis Exterior door direction. (N/S/E/W) |
|
|
Change Landing Spot Search behaviour. |
|
|
Travel to saved locations (waypoints) |
Notes:
- Using Dimensional Control will revert the destination coordinates to the exterior’s current coordinates. It is recommended to change the dimension first, then input coordinates.
Types of Flight Modes
In additional to the basic steps of flight, there are a variety of methods to fly the Tardis. This includes Manual Flight, Stabilized Flight and flight options added by external mods, plugins or addons.
Manual Flight
Manual flight (aka non-stabilised flight) is a method of flight which requires the player to manage the Tardis’ controls during flight to prevent course deviations.
Manual flight encourages the user to have more responsibility for a successful flight, but its average flight time is twice as fast compared to stabilized flight mode.
Usage:
- To start manual flight, the player must either remove stabiliser circuits or turn off stabilisers (if the circuits are already installed).
- Then, the Time Rotor Handbrake must be activated.
- Once the handbrake is activated, the player must respond to a variety of warning messages that appear above the hotbar.
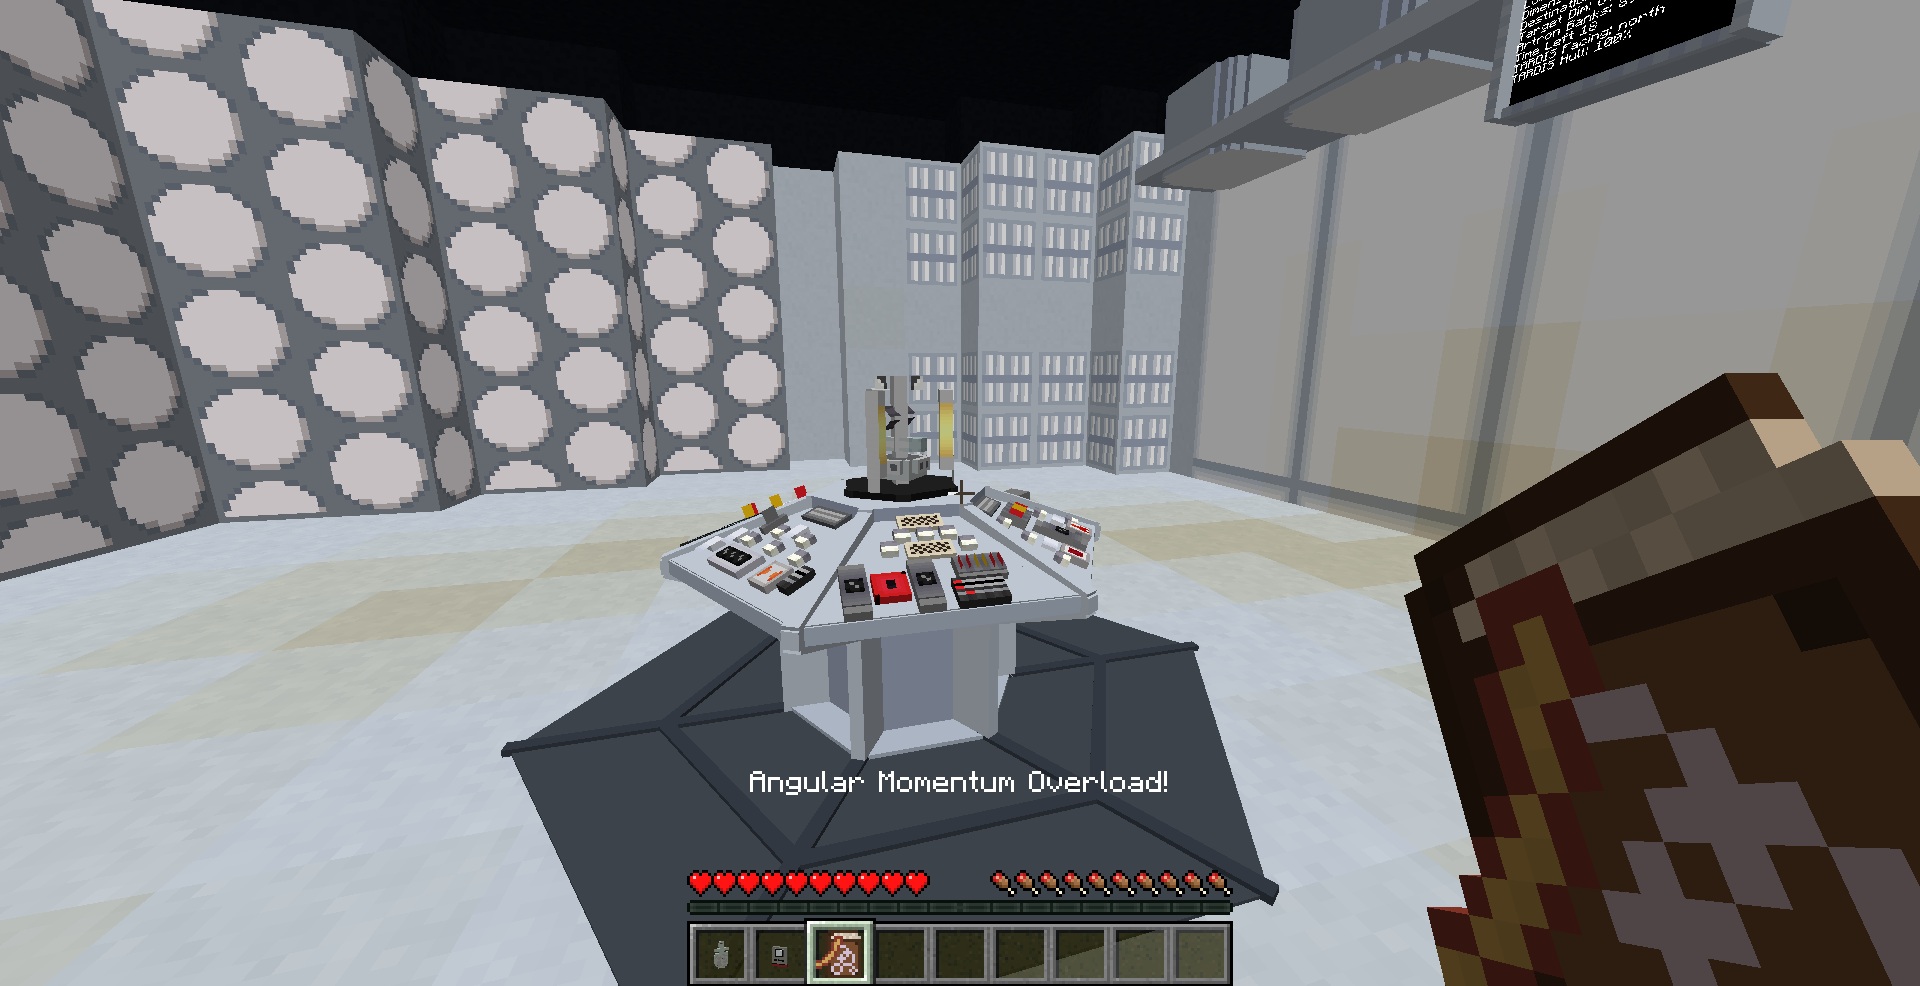
Course Deviation Warning Messages
During manual flight, a warning message will warn the player of a potential danger and provide a hint on the recommended action.
This message will appear over the hotbar for up to 5 seconds.
The player must press a control that prevents the potential danger. They have a 5 second timeframe to respond, with the time frame starting from the appearance of the warning message.
The following warning messages require the following response:
| Warning Message | Appropriate Action |
| Coordinate Slip - X/Y/Z | Click the corresponding XYZ coordinate plotter |
| Dimensional Drift | Dimensional Control |
| Fuel Overpressurised | Refueller |
| Angular Momentum Overload | Directional Control |
|
Figure 1 - One of many warning messages displayed above the player hotbar during Manual Flight Mode. |
Potential Consequences - Tardis Crashes
If the required control is not activated within this time frame, the Tardis will deviate from its destination by 5-10 blocks and receive greater sub-system damage than incident-free journeys. This is shown by explosion sounds and smoke particles emitting from the console.
|
|
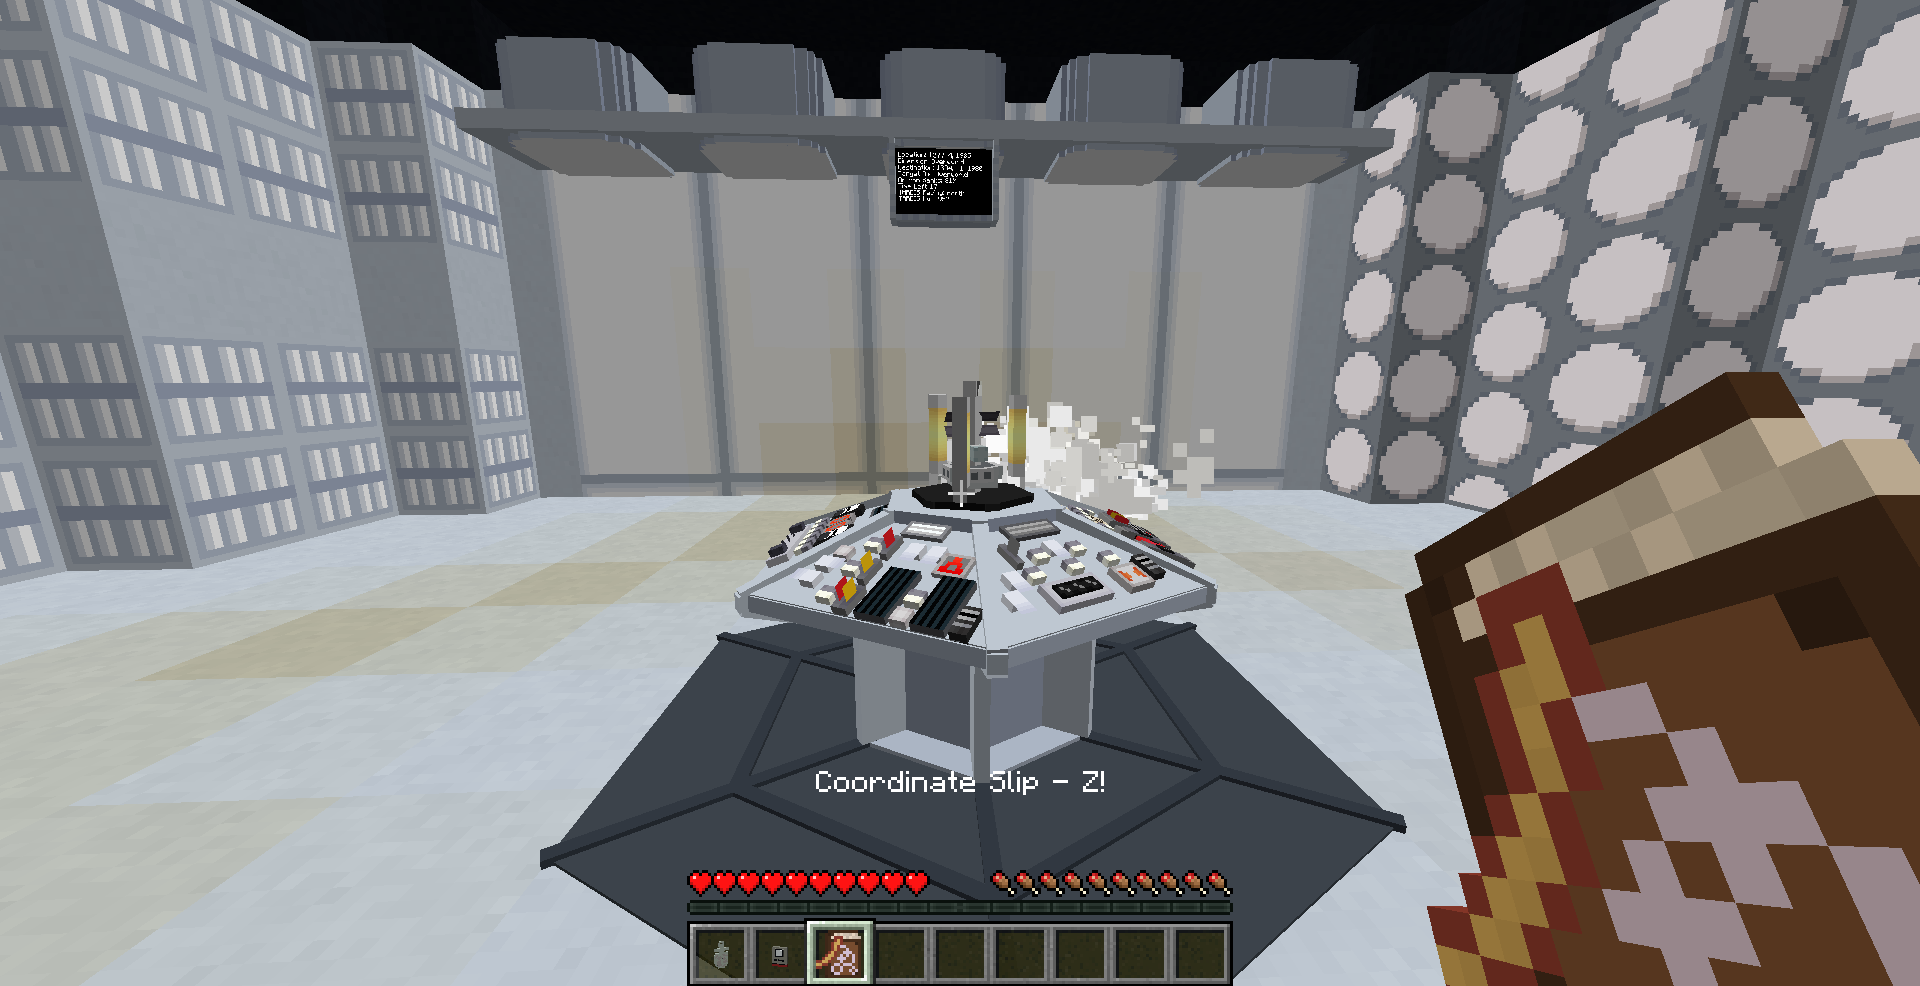
Notes:
- One warning message is shown at a time above the hotbar. It will last for up to 5 seconds.
- Unlike the original Tardis Mod, the required control will not light up blue. Instead the player must determine the required control from the warning message’s hint. E.g. “Fuel overpressurized”
- If stabilizer circuits are not installed when H.A.D.S is triggered, the Tardis will enter manual flight modeto, increasing risk of crashes and course deviation (as the player is unable to correct course deviation events)
- For a demonstration, please see the following video.
|
Figure 3 - Manual Flight Demonstration (Course Corrections) |
 Stabilized Flight Mode

Stabilized Flight is a method of flight which does not require the player to manage the Tardis’ controls during flight.
Usage:
- Stabilized flight can be activated by first installing a Stabilizer circuit.
- Then, right click the Stabilizer control to activate Stabilized Flight Mode.
Notes:
- Each flight journey wears down 1% of the Stabilizer circuit durability.
- Once the stabilizer circuit durability reaches 0, the Tardis flight mode will revert to Manual Flight mode.
Real World Flight
Real World Flight is a method of flight that allows players to control the Tardis' flight path in a graphical interface, similar to that in creative mode.
Usage:
- Please see the Telepathic Circuit/Real World Flight control for more information
- The player can also be displayed sitting on the edge of the exterior by clicking the Left mouse button whilst using Real World Flight
Telepathic Circuits
The use of the Telepathic Circuits allow the player to travel to a variety of Minecraft Biome Types, structures and other players (multiplayer only).
To use the Telepathic Circuits, right click the Telepathic Circuit controls and use the side buttons to cycle through the list of biomes, structures and players.
Notes:
- Players with Biodampeners in their inventory cannot be reached via Telepathic Circuits
- However, their username will be displayed in the available teleport list.

Stattenheim Remote
The use of the Stattenheim Remote allows the player to summon their Tardis to a specific block position in any dimension.
To use the remote's summoning function, right click a block with the remote and wait for the Tardis to materialise. The time to destination is displayed in a tooltip on the remote.
|
Figure 4 - The remote's tooltip, accessed by placing the mouse over the item when the player inventory is open. |
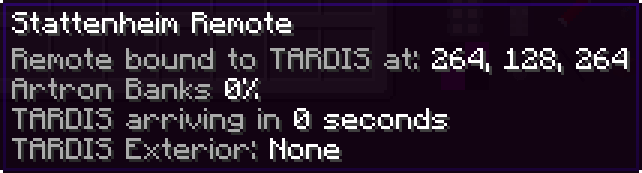
Notes:
- Each use of the remote decreases the Flight systems sub system by 10%
- If the remote counts down the flight time but suddenly stops, either a sub-system, Artron fuel levels or Tardis Hull may be too low for the Tardis to reach the destination.
- The Tardis must fully materialise before the player can use the remote to summon the Tardis to another location.
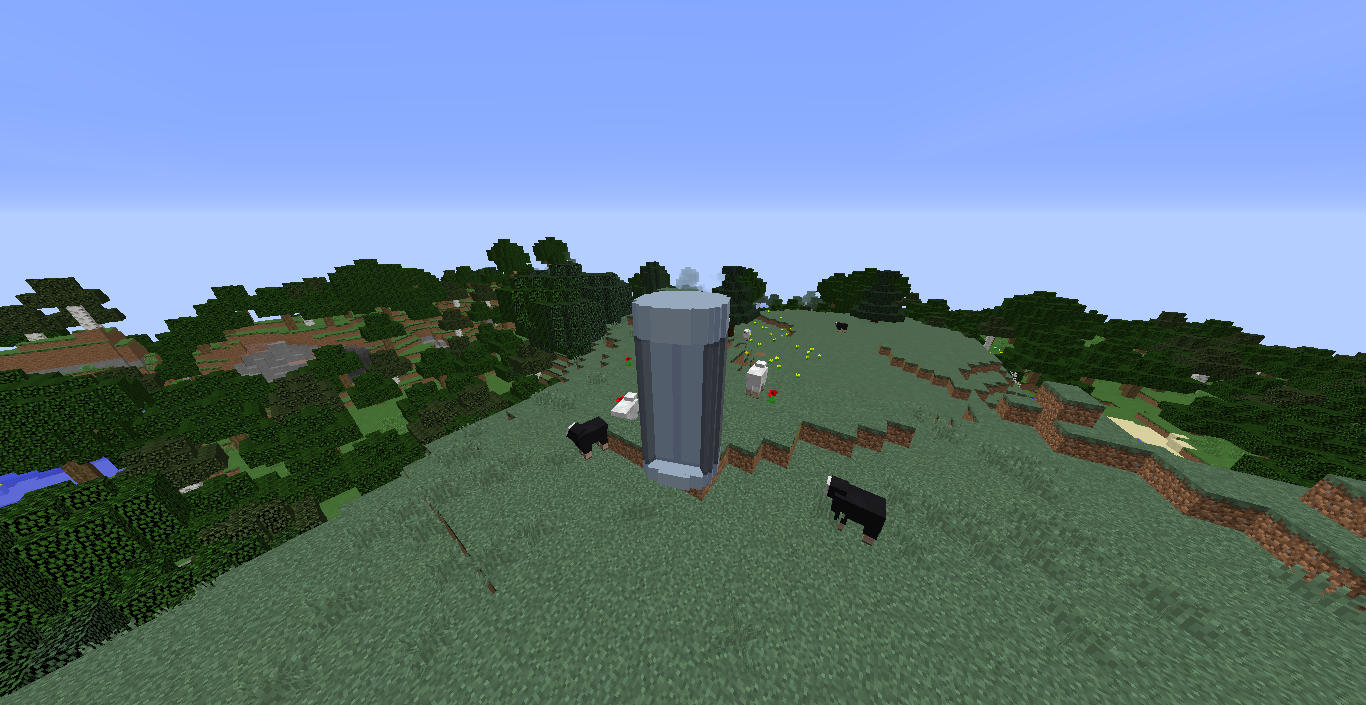
Incidents During Tardis Flight

Answering the Communicator
If an Interstitial Antenna is installed, a constant phone ringing sound is heard in the interior. The ringing indicates a Village is under attack by Daleks!
If one chooses to travel to the village, the player needs to right click the Communicator. This will set the Tardis’ destination to the Village in distress.
Then, they must right click the Time Rotor Handbrake to take off.
Alternatively, the ringing sound can be ignored and will stop after some time. After the ringing sound stops, the player can no longer travel to the coordinates of the invasion.
To stop the ringing noise immediately, uninstall the Interstitial Antenna via the Sub-systems readout.
Notes:
- To view a demonstration video, please see the following link. Keep in mind this demonstration uses an outdated version of the mod and the feature is subject to change.
|
Figure 5 - A demonstration of a Dalek Invasion via answering the Communicator. |
Alternative Flight Methods
ComputerCraft Tweaked and OpenComputers Integration
Alternative methods of flying the Tardis can be achieved without the use of the console. This involves using the Handles Addon for OpenComputers and ComputerCraft.
For more information please see the Handles wiki: https://github.com/LotuxPunk/Handles/wiki.