Electric Interface Panel

block.panel_electric.png

The Electric Interface Panel is a block that has multiplea variety of functions.


Crafting Recipe

Name Ingredients Recipe
Electric Interface Panel


recipe.block.roundel-panel.png

Uses

  • Transferring items between the Tardis Interior and Tardis Exterior and two positions within the Tardis Interior.
  • Mimic the texture of most blocks

Usage

Transferring items

Items can be transferred frombetween the Tardis interior toand Tardis exterior or different positons within the Tardis exteriorinterior usingdimension. 

Requirements:

  • Item transportation pipes or cables from external mods such as:

  • External
    Requirements:
    mods
      with
    • Itemitem transferring pipes and/or cables
    • from
    external mods
  • Input containersource block- placed in the Tardis interior such as a chest. Thisthis is where the player placessends itemsitems.
  • Output source - this is where the player receives items.
 
Interior to beExterior transferred to the exterior Setup


Using Buildcraft Pipes


roundel-buildcraft-interior.png
Figure 1 - Example Interior setup of using Buildcraft pipes with the Electric Interface Panel.

Starting Position Setup

  1. In the Tardis interior, place down a container block such as a chest. This will be the input source.source.
  2. Place down an Electric Interface Panel in the interior at least 3 blocks away from the container block
  3. Attach a Wooden pipe or an equivalent pipe to the container block so that it will extract items from the container block.
    1. The brown shaded part of the pipe extracts items from the block it is connected to.
    2. See the Buildcraft wiki for more information
  4. Place an engine such as a Redstone Engine to the Wooden Pipe
  5. Place a power source next to the engine.
  6. Connect a Stone or equivalent pipes to the Electric Interface Panel and the wooden pipe.
  7. Place items into the chest.

buildcraft-exterior.png
Figure 2 - Example Exterior setup of using Buildcraft pipes with the Electric Interface Panel.

Destination Setup

  1. Place a container block at least 3 blocks away from the Tardis exterior. This is the output source.source.
  2. Connect a Wooden Pipe or an equivalent pipe to the top block of the Tardis Exterior
    1. The brown shaded part of the pipe extracts items from the block it is connected to.
    2. See the Buildcraft wiki for more information
  3. Place an engine such as a Redstone Engine to the Wooden Pipe.
  4. Place a power source next to the engine.
  5. Items should now transfer from the input containersource intoto the output container.source.
roundel-buildcraft-interior.pngbuildcraft-exterior.png
Figure 1 - Example Interior setup of using Buildcraft pipes with the Electric Interface Panel.Figure 2 - Example Exterior setup of using Buildcraft pipes with the Electric Interface Panel.

Notes:

  • Multiple input sources can be connected with pipes into the same Electric Interface Panel
  • Multiple output sources can be setup on the exterior


Using XNet Cables

Interior 

Starting Position Setup

  1. In the Tardis interior, place down a container block such as a chest. This will be the input source.
  2. Place down an Electric Interface Panel in the interior at least 3 blocks away from the container block
  3. Attach any Xnet coloured connector to the container block.
  4. Attach a connector cable to the Electric Interface Panel using the same coloured cable as the previous cable.
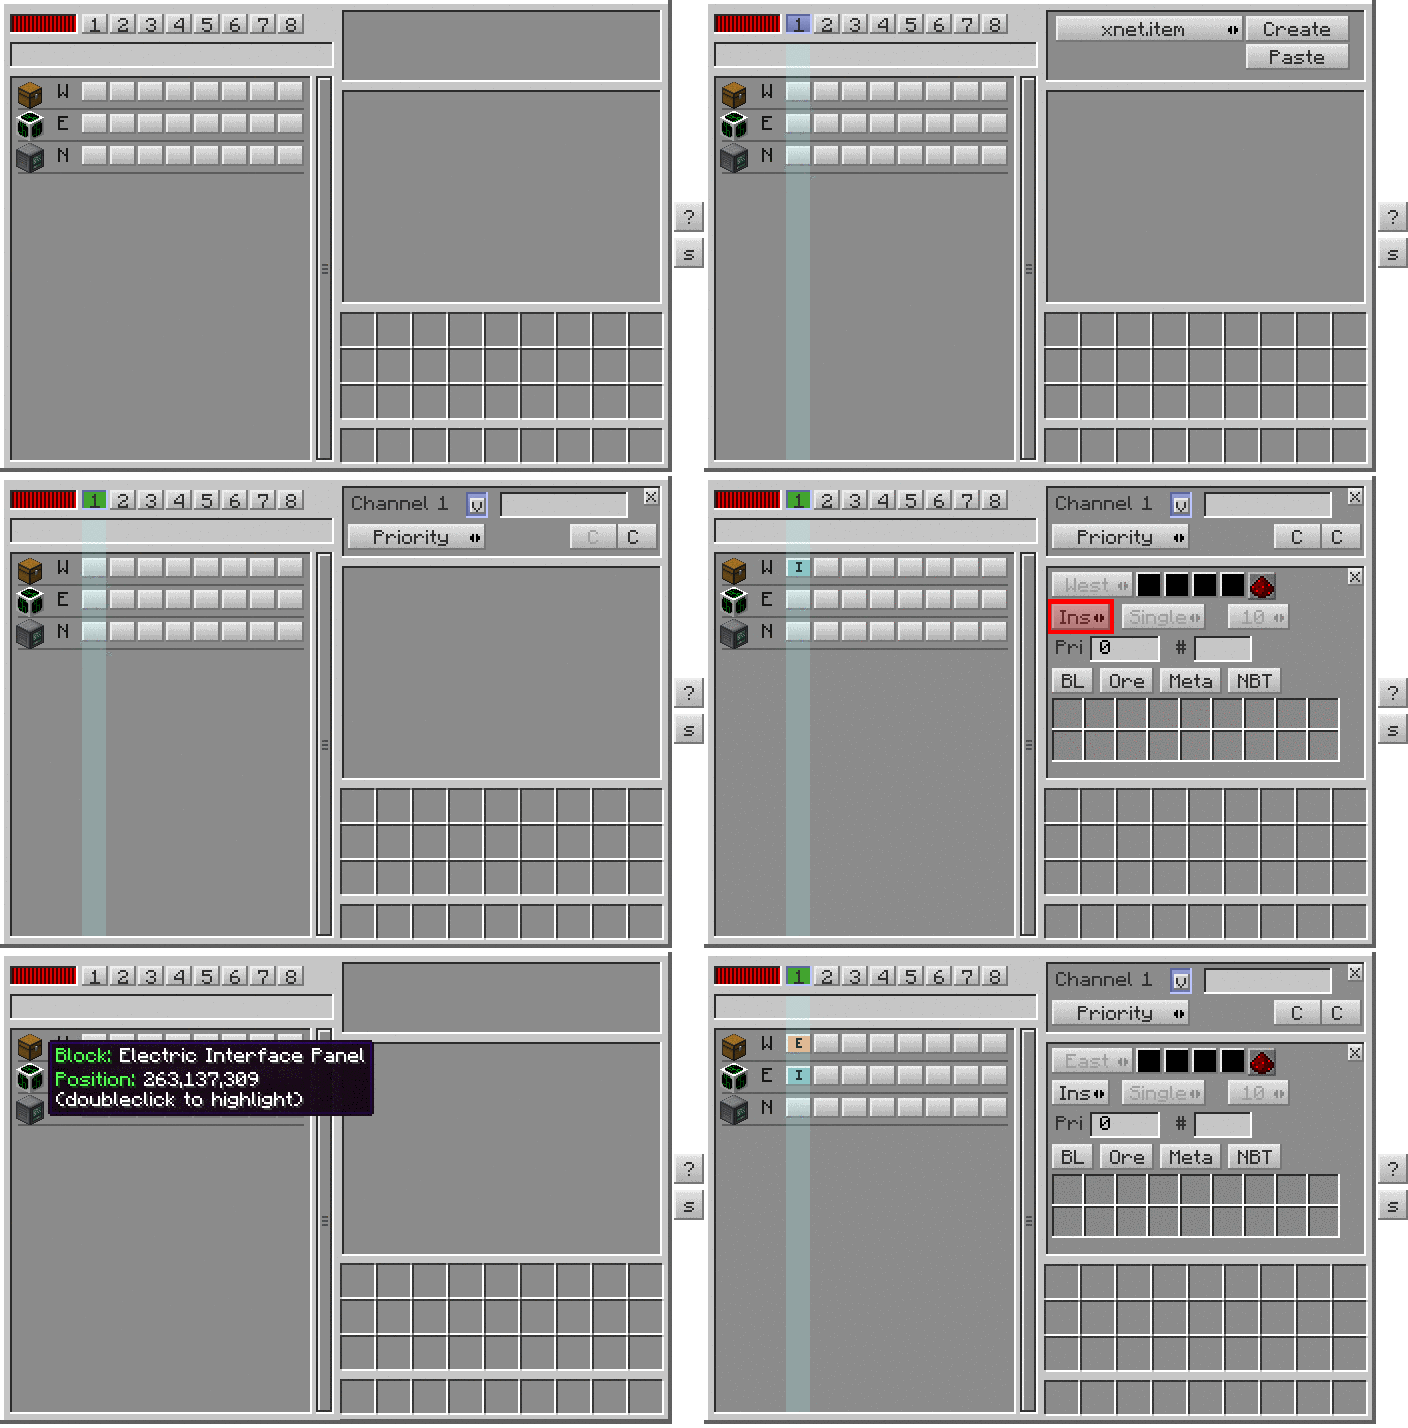
  5. Place down a Xnet Controller block and connect it to the Panel-Container block network.
  6. Place an power source next to the Controller and connect it to the network
  7. Setup the Xnet network by first right clicking the Controller block. See the below instructions for further steps of this sample setup.
xnet-interior.pngxnet-interior.gif
Figure 3 - Example starting position setup using Xnet cables. This example uses an EnderIO Stirling Generator to power the Xnet controller block.Figure 4 - Sample instructions on setting up the Xnet Controller block for the starting position setup. 

ExteriorDestination Setup

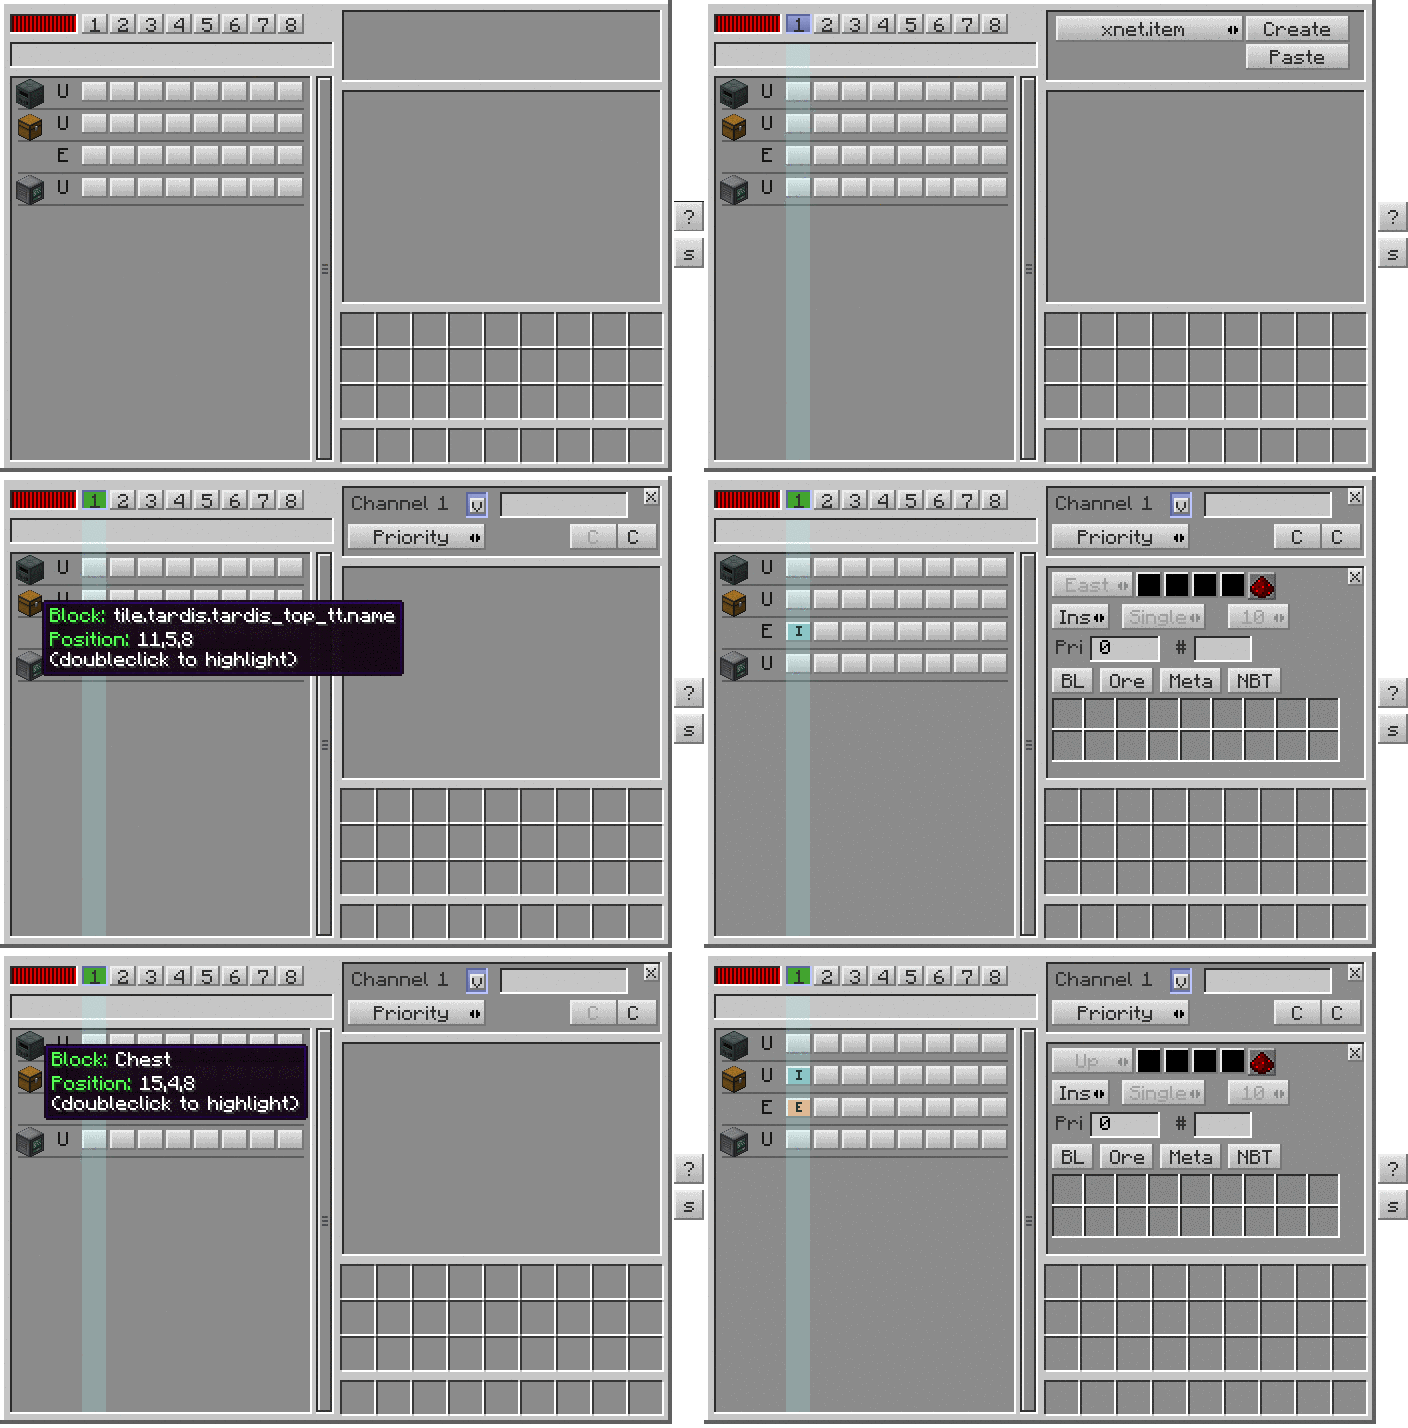
  1. Place a container block at least 2 blocks away from the Tardis exterior. This is the output source.
  2. Repeat Steps 2-7 of the Interior Setup phase.
xnet-interior.pngxnet-exterior.png xnet-interior.gif
Figure 3 - Example Interior Setup of item transfer using Xnet cables. This example uses an EnderIO Stirling Generator to power the Xnet controller block.Figure 4 - Animated instructions on setting up the Xnet network for the interior setup. This is the Xnet controller block GUI
xnet-exterior.pngxnet-exterior.gifxnet-exterior.gif
Figure 5 - Example Exteriordestination Setup of item transfersetup using Xnet cables. Note that an Xnet Connector block has been attached to the top half of the Tardis Exterior block. Figure 66- - AnimatedSample instructions on setting up the Xnet networkController block for the exteriordestination setup. This

Interior - Interior Setup

Transporting items to different positions (E.g. Point A to Point B) within the Tardis interior dimension is possible.

Start Position Setup 

The setup is the same as the start-position setup for both Buildcraft and Xnet controllervariants.

blockGUI.
xnet-interior.pngroundel-buildcraft-interior.png
Figure 7 - Example start position setup using Xnet cables. Figure 8 - Example start position setup using Buildcraft Pipes

Destination Position Setup

The setup is the also the same as the start-position setup. However, keep in mind that cables from external mods must be placed to extract items from the panel.  

roundel-xnet-destination-interior-to-interior.pngroundel-buildcraft-destination-interior-to-interior.png
Figure 10 - Example destination position setup using Xnet cables. The physical setup is the same as the above, but its Controller setup is inverted (Panel = extract, Chest = insert)Figure 11 - Example destination position setup using Buildcraft pipes. Notice how the extraction point (pipe with brown colouring) is placed on the panel and not the chest.

Mimicking block textures

  1. Place down the Electric Interface Panel. 
  2. Right click the panel with a block. The aforementioned block will be used up and the panel will be able to use its texture.

gif.electric-panel-mimic.gif

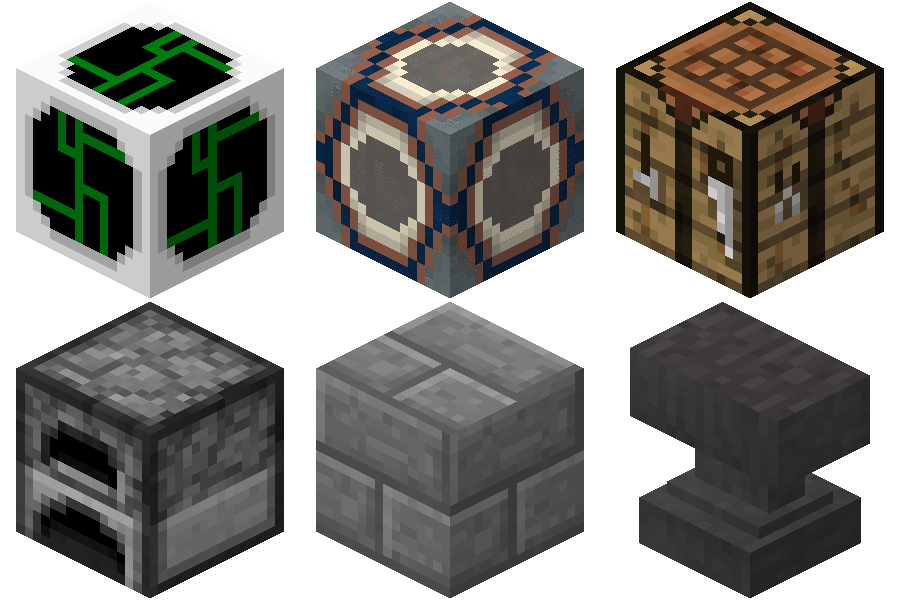
Figure 12 - The Electric Interface Panel can mimic a variety of block types